Proper drainage is essential for maintaining the integrity of your property, and one effective solution is a soakaway system. Soakaways are designed to manage excess surface water, preventing flooding and soil erosion. This guide will take you through the steps of soakaway installation, explaining its benefits, materials needed, and maintenance tips.
Understanding Soakaway Systems
What is a Soakaway?
A soakaway is a simple drainage system that allows rainwater to percolate into the ground rather than running off into storm drains. It consists of a pit filled with gravel or specially designed crates, covered with permeable fabric to prevent soil and debris from clogging the system.
Benefits of Soakaway Systems
- Flood Prevention: Soakaways help to manage heavy rainfall, reducing the risk of flooding.
- Environmental Impact: By allowing water to infiltrate the soil, soakaways support groundwater recharge and reduce the load on public drainage systems.
- Cost-Effective: Compared to more complex drainage solutions, soakaways are relatively inexpensive and easy to install.
Planning Your Soakaway Installation
Site Assessment
Before installing a soakaway, it’s essential to assess the suitability of your site:
- Soil Permeability: Conduct a percolation test to ensure the soil can absorb water. Dig a test hole and fill it with water, observing how quickly it drains. Ideal soil should drain at a rate of 1-2 inches per hour.
- Location: Choose a location at least 5 meters away from buildings and boundaries to prevent structural damage and neighbor disputes.
Design Considerations
- Size: The size of your soakaway depends on the area of the surface being drained and the local rainfall intensity. A typical domestic soakaway measures 1 cubic meter but may need to be larger for larger areas.
- Materials: Soakaways can be constructed using gravel, soakaway crates, or a combination of both. Crates are becoming increasingly popular due to their higher void ratio and ease of installation.
Step-by-Step Soakaway Installation
Materials and Tools Needed
- Spade and shovel
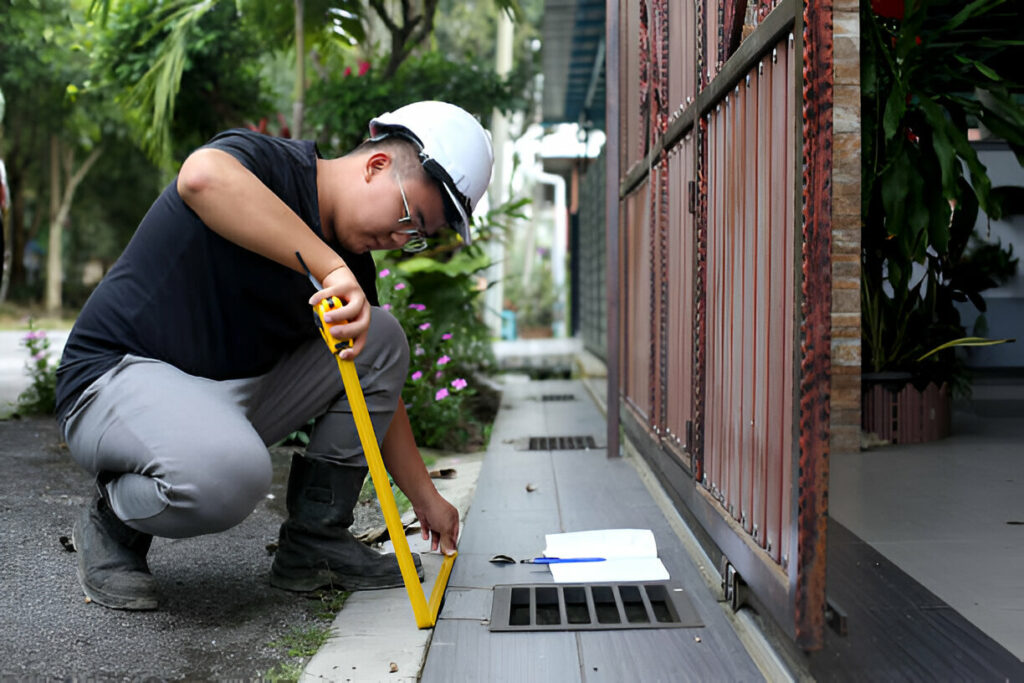
- Tape measure
- Spirit level
- Gravel or soakaway crates
- Permeable geotextile fabric
- PVC pipes (for connecting gutters)
- Perforated drainage pipe (optional)
Excavation
- Mark the Area: Use stakes and string to outline the soakaway location.
- Dig the Pit: Excavate a pit to the required size and depth. Ensure the sides are straight and the base is level.
Lining the Pit
- Lay Geotextile Fabric: Line the entire pit with permeable geotextile fabric. This prevents soil from entering the soakaway while allowing water to pass through.
Installing the Soakaway
- Gravel Soakaway:
- Fill with Gravel: Pour gravel into the pit, ensuring it is evenly distributed. The gravel should reach about 50mm below ground level.
- Fold Fabric Over: Fold the excess fabric over the top of the gravel layer to completely encase it.
- Crate Soakaway:
- Assemble Crates: Follow the manufacturer’s instructions to assemble the soakaway crates.
- Place Crates in Pit: Position the crates in the pit, ensuring they are stable and level.
- Backfill with Gravel: Fill any gaps around the crates with gravel.
- Cover with Fabric: Fold the geotextile fabric over the top of the crates.
Connecting the Drainage
- Install Pipes: Lay PVC pipes from your roof gutters or other drainage sources to the soakaway. Ensure the pipes have a slight gradient to encourage water flow.
- Connect to Soakaway: Attach the pipes to the soakaway, using perforated drainage pipe if needed to distribute water evenly.
Backfilling and Finishing
- Backfill Soil: Cover the soakaway with soil, compacting it lightly to avoid settling. Ensure the ground level is even with the surrounding area.
- Surface Covering: You can cover the area with grass, gravel, or paving stones to match your landscaping.
Maintenance Tips
Regular Inspections
- Check Gutters and Pipes: Ensure that gutters and drainage pipes are clear of debris and functioning correctly.
- Monitor Water Flow: After heavy rain, check that water is draining into the soakaway and not causing surface pooling.
Cleaning
- Remove Debris: Periodically remove leaves and other debris from gutters and downspouts to prevent clogs.
- Inspect Fabric: Check the geotextile fabric if possible, ensuring it remains intact and free of silt buildup.
Repairs
- Address Blockages: If you notice poor drainage, investigate and clear any blockages in the pipes or soakaway.
- Resurface as Needed: If soil settles or erodes, add more soil or relevel the surface to maintain proper drainage.
Innovative Soakaway Technologies
Modular Soakaway Crates
Modern soakaway systems often use modular crates, which offer several advantages over traditional gravel-filled pits.
- High Void Ratio: These crates have a high void ratio, meaning they can hold a large volume of water relative to their size, making them more efficient in managing runoff.
- Ease of Installation: Lightweight and easy to handle, these crates can be quickly assembled and installed, reducing labor costs and installation time.
Eco-Friendly Materials
Consider using eco-friendly materials in your soakaway installation.
- Recycled Plastic Crates: Some soakaway crates are made from recycled plastics, offering a sustainable option for your drainage needs.
- Natural Geotextiles: Using natural fiber geotextiles can reduce the environmental impact of your installation.
FAQs
How deep should a soakaway be?
A typical soakaway pit is about 1 meter deep, but the depth can vary depending on soil conditions and the amount of water to be managed.
Can I install a soakaway myself?
Yes, with proper planning and the right materials, installing a soakaway can be a DIY project. However, for complex installations or large areas, professional help may be advisable.
How long does a soakaway last?
With proper installation and maintenance, a soakaway can last for many years, often 20 years or more.
Do soakaways need planning permission?
In most cases, soakaways do not require planning permission. However, it’s always best to check with local authorities, especially if the installation affects public or shared areas.
What types of soil are best for soakaways?
Sandy or loamy soils are ideal for soakaways due to their high permeability. Clay soils may not be suitable as they drain water slowly. Conducting a percolation test can help determine the suitability of your soil.
Conclusion!!
Installing a soakaway is a practical and environmentally friendly solution for managing excess surface water. By following the steps outlined in this guide, you can effectively plan, install, and maintain a soakaway system that prevents flooding, supports groundwater recharge, and enhances the sustainability of your property. Regular maintenance will ensure your soakaway remains effective for years to come, providing peace of mind during heavy rains.


