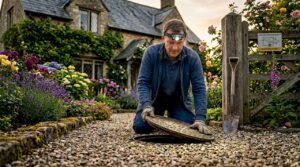
Persistent drain blockages and expensive repairs plague many homeowners across southern England. Traditional pipe replacement can cost thousands and disrupt your property for days. This guide breaks down the drain relining process step by step, showing you how over 90% of drain repair professionals start with a CCTV survey to avoid costly mistakes and complete repairs in just 6 to 8 hours with minimal disruption.
Table of Contents
- Prerequisites: What You Need Before Starting Drain Relining
- Step 1: Inspection and Preparation
- Step 2: Installation and Curing of the Liner
- Step 3: Verification, Testing, and Post-Relining Maintenance
- Common Mistakes and Troubleshooting
- Expected Results, Timelines, and Costs
- Your Trusted Partner for Drain Relining Solutions in Southern England
Key Takeaways
| Point | Details |
|——-|———||
| CCTV inspection is essential | Professional surveys assess damage accurately before any work begins. |
| Drain cleaning ensures success | Proper cleaning guarantees strong liner adhesion and long-lasting repairs. |
| Liner cures in 6 to 8 hours | Minimal disruption compared to traditional dig-up methods taking days. |
| Post-relining inspections confirm quality | Verification catches defects early and ensures repair integrity. |
| Maintenance extends lifespan to 50 years | Regular checks and prompt attention to issues maximize investment. |
Prerequisites: What You Need Before Starting Drain Relining
Before you begin any relining work, proper preparation saves time and prevents costly mistakes. Skipping these foundational steps often leads to failed repairs and wasted money.
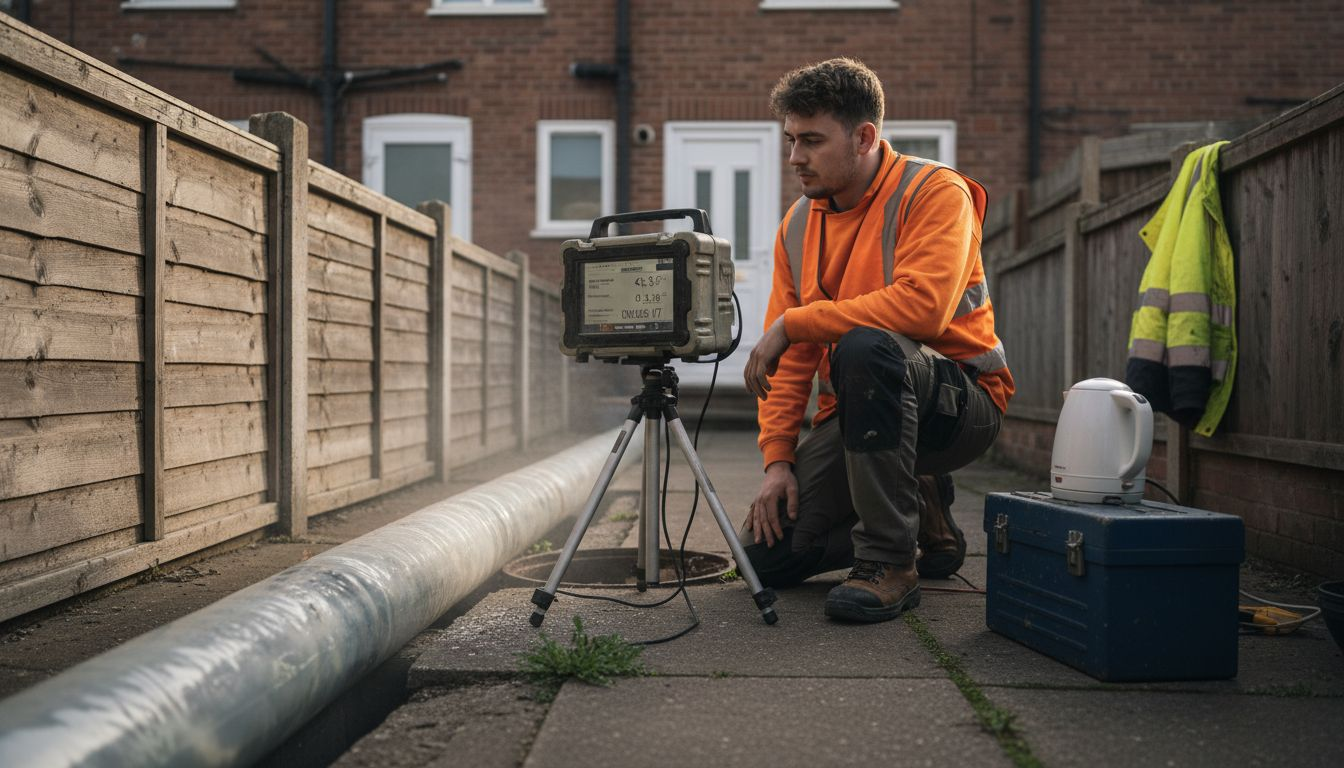
Start by scheduling professional CCTV drain surveys to assess pipe condition thoroughly. Accurate pipe measurements and CCTV surveys prevent costly mistakes by revealing the exact location and severity of damage. You need precise measurements of pipe diameter and length to order the correct liner size.
Essential preparations include:
- High-pressure cleaning equipment for thorough debris removal
- Safety gear for handling epoxy resins and chemicals safely
- Proper ventilation equipment to protect workers during resin application
- Verified suitability of damage type for relining rather than replacement
- Access to professional-grade curing equipment for proper liner hardening
Pro Tip: Not all pipe damage suits relining. Severely collapsed pipes or those with major structural failures often require full replacement. A professional CCTV survey determines the best approach for your specific situation.
Confirm that your drainage issue falls within the scope of effective drain relining techniques. Cracks, root intrusion, and moderate corrosion respond well to relining. Complete pipe collapse or extensive structural damage may need different solutions.
Step 1: Inspection and Preparation
Inspection and cleaning form the foundation of successful drain relining. Without a spotless pipe interior, liner adhesion fails and your repair won’t last.
Follow these critical steps in order:
- Conduct a detailed CCTV drain survey to map damage locations precisely
- Mark exact positions of cracks, root intrusion points, and corrosion areas
- Clean pipes thoroughly using power flushing and high-pressure jetting
- Remove all roots, grease buildup, scale deposits, and debris completely
- Verify and double-check all pipe measurements for correct liner sizing
- Prepare the work site with proper safety measures and ventilation
Over 30% of relining failures stem from inadequate cleaning before liner installation. This staggering statistic highlights why rushing through preparation costs more in the long run. Professional jetting equipment removes stubborn blockages that manual methods miss.
The benefits of drain relining only materialize when pipes are pristine before liner insertion. Any remaining debris creates weak spots where the liner cannot bond properly to pipe walls. These weak points become future failure sites that require repeat repairs.
Pro Tip: Schedule post-inspection CCTV surveys after cleaning to confirm complete debris removal. This extra verification step catches overlooked problem areas before liner installation begins.
Maintain site safety throughout this phase. Ensure adequate ventilation when working with cleaning chemicals and prepare for resin handling in the next steps. Proper safety equipment protects workers and prevents contamination of the repair site.
Step 2: Installation and Curing of the Liner
Installing and curing the liner correctly determines whether your repair lasts months or decades. This critical phase requires precision and patience.
The installation process follows this sequence:
- Saturate the flexible liner thoroughly with specially formulated epoxy resin
- Insert the resin-coated liner using inversion or winch methods
- Position the liner to cover all damaged sections completely without gaps
- Inflate the liner with air or water pressure to press against pipe walls
- Begin the curing process using hot water or steam at controlled temperatures
- Monitor curing conditions continuously throughout the 2 to 6 hour period
Insertion methods vary based on pipe configuration and access points. Inversion uses water or air pressure to turn the liner inside out as it travels through the pipe. Winch methods pull the liner through using cables attached at both ends. Both techniques require expertise to avoid wrinkles or misalignment.
Proper curing lasting 2 to 6 hours is vital to achieve a 50 year lifespan and prevent premature failures. Temperature control during this phase cannot be compromised. Too cool and the resin remains soft and weak. Too hot and the resin can crack or cure unevenly.
Critical cautions during curing include:
- Never move or disturb the liner before curing completes fully
- Maintain consistent temperature throughout the entire curing period
- Prevent environmental contamination from dust, water, or debris
- Avoid premature pressure testing that can damage partially cured liner
- Follow manufacturer specifications exactly for your specific resin type
The drain relining benefits of minimal disruption and fast completion depend on proper curing. Rushing this step to save an hour or two destroys the repair and wastes all previous work. Professional teams use effective drain relining techniques with calibrated equipment to maintain optimal conditions.
Understanding the complete step-by-step relining process helps you appreciate why professional installation costs are worthwhile. The difference between a 5 year patch job and a 50 year permanent fix lies entirely in this curing phase.
Step 3: Verification, Testing, and Post-Relining Maintenance
Verification ensures your investment delivers the promised decades of reliable service. Testing catches problems while they’re still easy to fix.
Post-installation verification includes these essential checks:
- Conduct a thorough CCTV inspection of the entire relined section
- Examine liner surface for bubbles, wrinkles, or incomplete adhesion
- Perform water flow tests to confirm no leaks or blockages remain
- Check connection points where new liner meets existing pipe
- Document baseline condition for future comparison during maintenance inspections
Post-installation CCTV inspections detect up to 20% of faults that require immediate correction. These flaws range from minor surface imperfections to serious adhesion failures. Catching them early allows quick remediation before small issues become major problems.
Water flow testing reveals blockages or restrictions that CCTV might miss. Normal flow rates confirm the liner hasn’t reduced pipe capacity. Any slowdown indicates incomplete installation or debris trapped during the process.
Long-term maintenance requirements for relined drains:
| Maintenance Task | Frequency | Purpose |
|---|---|---|
| CCTV inspection | Every 5 years | Detect early wear or damage |
| Professional cleaning | As needed | Remove buildup without damaging liner |
| Flow rate testing | Every 5 years | Confirm continued performance |
| Visual checks for warning signs | Monthly | Catch problems before they escalate |
Recognize warning signs that require immediate attention. Unusual smells suggest liner failure allowing sewage contact with soil. Slow drainage indicates blockages or liner collapse. Wet patches in your garden or property point to leaks that need urgent repair.
Schedule routine drain relining post-inspection services to maintain warranty coverage and catch issues early. Many professional guarantees require periodic verification to remain valid. A post-relining CCTV survey every five years protects your investment and prevents small problems from escalating into expensive emergencies.
Promptly address any cracks or adhesive failures discovered during inspections. Small repairs cost a fraction of complete relining and extend your drain’s service life significantly. Neglecting minor issues leads to progressive deterioration and eventual system failure.
Common Mistakes and Troubleshooting
Learning from others’ mistakes saves you money and frustration. These common errors account for most relining failures in UK homes.
The most frequent mistakes include:
- Skipping thorough drain cleaning before liner insertion
- Ordering incorrect liner sizes due to inaccurate measurements
- Rushing the curing process to save time or money
- Attempting DIY relining without proper equipment or training
- Omitting post-installation verification inspections
- Using cheap materials or inferior resin formulations
Skipping drain cleaning leads directly to liner adhesion failure. The liner cannot bond to grease, roots, or scale. Within months, sections peel away and leaks return. Always insist on complete cleaning verified by CCTV before liner installation begins.
Incorrect liner sizing creates catastrophic problems. Undersized liners leave gaps that leak immediately. Oversized liners wrinkle and fold, creating weak spots and restricting flow. Professional measurement eliminates this risk entirely.
DIY relining accounts for roughly 45% of failures due to improper resin handling and curing. Home attempts lack the specialized equipment needed for proper temperature control and pressure monitoring. The money saved on labor evaporates when you pay for professional repair of the failed DIY job.
Professional versus DIY relining comparison:
| Factor | Professional Service | DIY Attempt |
|---|---|---|
| Success rate | 95% plus | 55% or less |
| Equipment quality | Industrial grade | Consumer or rental |
| Warranty coverage | 10 to 50 years | None |
| Time to complete | 6 to 8 hours | 2 to 3 days |
| Total cost including failures | £500 to £1500 | £800 to £2500 |
Avoiding common relining mistakes requires understanding the complexity involved. What appears simple in theory demands precision execution in practice. Temperature control alone requires calibrated equipment and constant monitoring.
When troubleshooting relining problems, professional relining troubleshooting services diagnose issues accurately using CCTV and flow testing. They determine whether repair or complete replacement offers the best solution. Attempting to fix a failed relining yourself often compounds the original problem.
Expected Results, Timelines, and Costs
Understanding realistic expectations helps you make informed decisions about drain repairs. Compare these factors against traditional replacement methods.
Drain relining can typically be completed within one working day (6 to 8 hours), minimizing disruption compared to full pipe replacement. You can usually resume normal activities the same day. Traditional dig-up methods take 3 to 5 days and leave your property torn up for weeks.
Cost considerations for 2026:
- Standard relining ranges from £500 to £1500 for typical residential drains
- Price varies based on pipe length, diameter, and damage severity
- Complex access situations or multiple damaged sections increase costs
- Traditional replacement costs 2 to 3 times more for equivalent repairs
- Hidden costs of traditional methods include landscaping restoration and lost productivity
Relining extends drain lifespan up to 50 years under proper maintenance. This longevity makes it one of the most cost-effective repair options available. The seamless interior resists root intrusion and corrosion better than new pipes in many cases.
Key benefits you should expect:
- Completion within a single working day for most residential jobs
- Minimal property disruption with no excavation required
- Significant savings compared to traditional replacement methods
- Reduced frequency of future repairs and blockages
- Maintained or improved flow capacity despite pipe damage
Compare drain relining pricing and timelines against traditional methods before deciding. The upfront cost difference narrows considerably when you factor in restoration work, lost time, and extended disruption.
The cost benefits of drain relining become clearer when viewing it as a long-term investment rather than a simple repair. Fifty years of trouble-free service justifies the initial expense many times over.
When comparing relining vs traditional pipe replacement, consider total lifecycle costs including maintenance and eventual replacement. Relining often proves cheaper even before factoring in convenience and reduced disruption.
Your Trusted Partner for Drain Relining Solutions in Southern England
Now that you understand the complete drain relining process, choosing the right professional partner ensures success.

Local Services Drainage brings years of expertise to every professional drain relining service across southern England. We complete comprehensive CCTV drain surveys to diagnose issues accurately and plan precise repairs. Our minimally invasive approach saves you time and money while delivering repairs that last decades.
Our team uses advanced equipment and proven techniques to complete most residential relining projects in a single day. We guarantee our work and provide detailed documentation of every repair. From initial inspection through final verification, we handle every step professionally.
Contact us today for reliable, cost-effective drain repairs that protect your property investment. We also offer emergency drain unblocking services when you need immediate help. Get your free quote and schedule your CCTV survey to start solving your drainage problems permanently.
FAQ
What is the average cost of drain relining for a typical UK home?
Costs typically range from £500 to £1500 depending on drain length, diameter, and damage severity. This price includes initial CCTV survey, cleaning, liner installation, curing, and final verification. Relining proves considerably cheaper than traditional pipe replacement, which often costs £1500 to £4500 for similar repairs plus landscaping restoration expenses.
How long does the drain relining process usually take?
Drain relining typically completes within one working day, about 6 to 8 hours. This includes inspection, cleaning, liner installation, curing time, and final testing. Traditional dig-up and pipe replacement methods take 3 to 5 days minimum, causing significantly more disruption to your property and daily routine.
Can I attempt drain relining myself to save money?
About 45% of DIY drain relining attempts fail due to improper resin handling and curing. Professional services provide specialized equipment, proper temperature control, and expert installation that DIY approaches cannot match. The cost of repairing a failed DIY relining often exceeds hiring professionals initially, and you lose time dealing with continued drainage problems.
What maintenance is needed after drain relining?
Schedule routine CCTV inspections every five years to catch potential problems early. Watch for warning signs including slow drainage, unusual sewage smells, or damp patches in your garden. Address any issues promptly to maintain the liner’s 50 year lifespan. Avoid harsh chemical cleaners that might damage the liner surface over time.