Blocked or damaged drains disrupt daily life and can quickly escalate into costly property damage if left unaddressed. Whether it’s a slow-draining sink, persistent odours, or visible leaks, drainage issues demand prompt attention. This guide equips southern UK homeowners with practical, step-by-step instructions to diagnose and repair common drain problems safely and effectively. You’ll learn essential preparation techniques, detailed repair processes, and maintenance strategies to keep your drainage system flowing smoothly. By following these proven methods, you can tackle many drain issues yourself, saving money whilst gaining confidence in managing your home’s infrastructure.
Table of Contents
- Key takeaways
- Preparing for your drain repair: tools, safety, and assessment
- Step-by-step drain repair process: unblocking and fixing common issues
- Verifying repair success and ongoing drain maintenance tips
- Professional drain repair and unblocking services for southern UK homeowners
- Frequently asked questions
Key Takeaways
| Point | Details |
|---|---|
| Preparation and safety | Plan repairs with the right tools and protective gear, and perform a risk assessment before starting. |
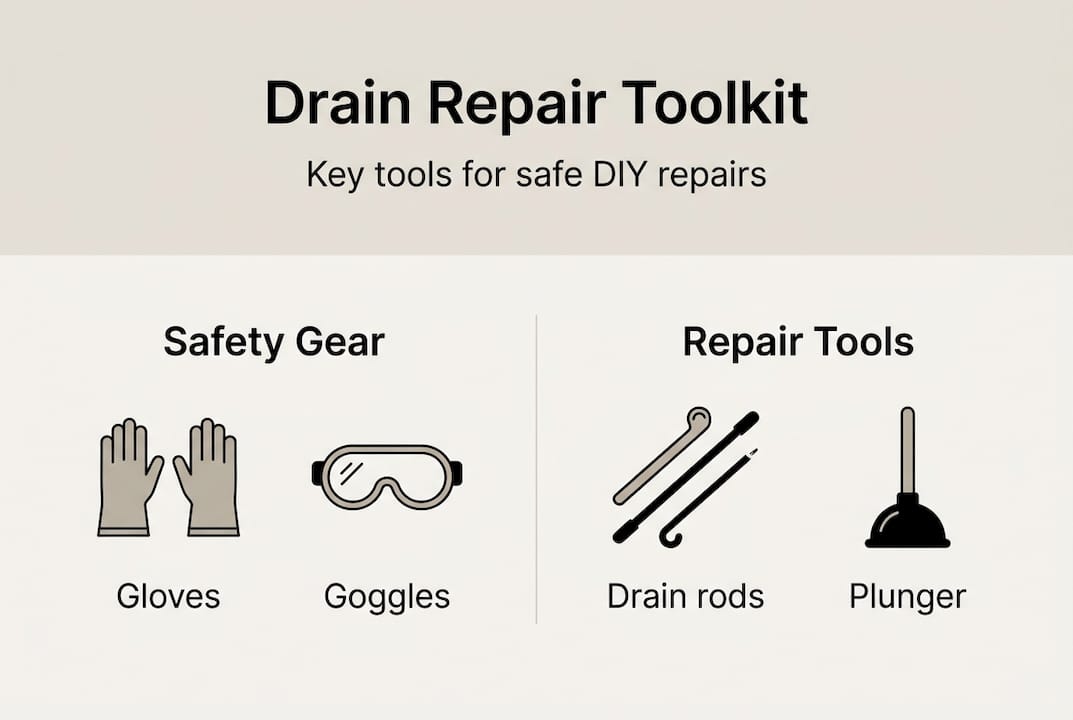
| Essential toolkit | Assemble drain rods, heavy gloves, a bucket, a pipe wrench, a plunger, and a torch or camera to inspect and clear blockages. |
| Assessment and checks | Check for pooling water, damp patches, or odours and test flow to identify partial versus full blockages. |
| Least invasive first | Begin with the least invasive method, using a plunger or gentle rod work before more invasive clearing if symptoms persist. |
| Ongoing maintenance | Regular maintenance helps prevent future issues by addressing leaks promptly and keeping drains clear through simple upkeep. |
Preparing for your drain repair: tools, safety, and assessment
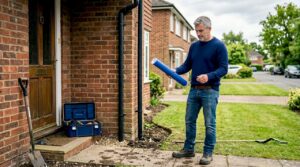
Successful drain repair begins long before you touch a single pipe. Proper preparation and use of correct tools is crucial to drain repair success and safety, ensuring you can work efficiently whilst minimising risks. Gathering the right equipment and understanding what you’re dealing with transforms a potentially messy disaster into a manageable project.
Your essential toolkit should include drain rods for reaching deep blockages, heavy-duty rubber gloves to protect against bacteria and sharp edges, a sturdy bucket for collecting debris and water, and a pipe wrench for loosening fittings. A quality plunger remains invaluable for simple blockages, whilst a small inspection camera or torch helps identify problems in dark recesses. For southern UK homes with older drainage systems, you might also need waterproof sealant, replacement pipe sections, and adjustable spanners.
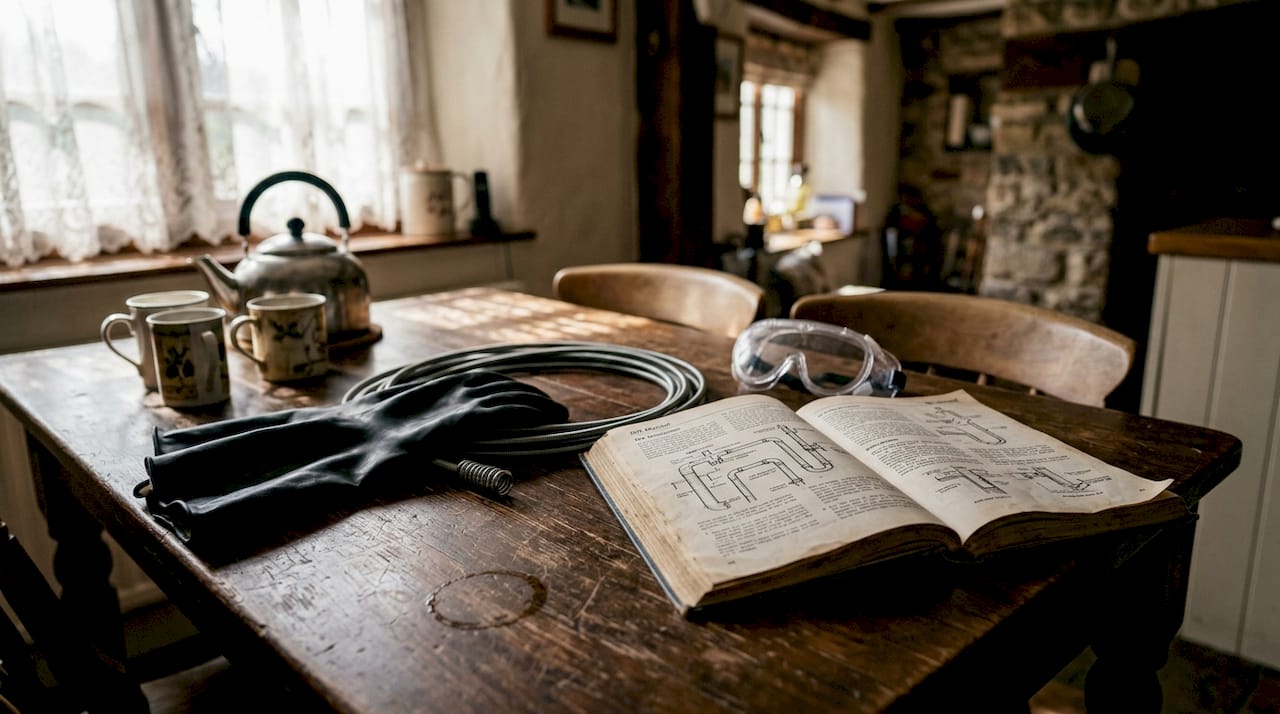
Personal protective equipment deserves serious attention. Beyond gloves, wear safety goggles to shield your eyes from splashes and debris, particularly when working with standing water that may contain harmful bacteria. Steel-toed boots protect your feet if heavy drain covers or tools slip, and old clothing you don’t mind soiling completes your safety ensemble. If working in confined spaces like inspection chambers, ensure adequate ventilation to prevent exposure to sewer gases.
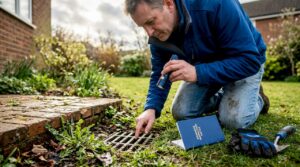
Before attempting repairs, conduct a thorough assessment. Look for obvious signs like water pooling around drain covers, damp patches on walls near pipes, or foul odours indicating blockages. Run water through suspect drains and observe flow rates. Slow drainage suggests partial blockages, whilst complete stoppage indicates severe obstruction. Check visible pipe sections for cracks, corrosion, or loose joints. In older properties common across southern England, cast iron pipes may show rust damage, whilst plastic systems might have separated joints.
| Tool | Purpose | Notes |
|---|---|---|
| Drain rods | Clear deep blockages | Connect multiple sections for reach |
| Rubber gloves | Hand protection | Choose heavy-duty, elbow-length |
| Pipe wrench | Loosen fittings | Adjustable size for various pipes |
| Plunger | Simple blockages | Cup style for sinks, flange for toilets |
| Bucket | Collect water/debris | Minimum 10-litre capacity |
| Inspection camera | Visual diagnosis | Smartphone attachment available |
| Sealant | Repair minor leaks | Choose waterproof, pipe-safe formula |
Pro Tip: Always shut off the water supply to the affected area before beginning repairs. This simple step prevents flooding if you accidentally damage a pipe or fitting during the work, saving you from a much larger cleanup operation.
Step-by-step drain repair process: unblocking and fixing common issues
Stepwise processes ensure effective clearing and repair of household drain blockages, transforming what seems overwhelming into manageable stages. Following a logical sequence prevents damage to your drainage system whilst maximising repair success.
-
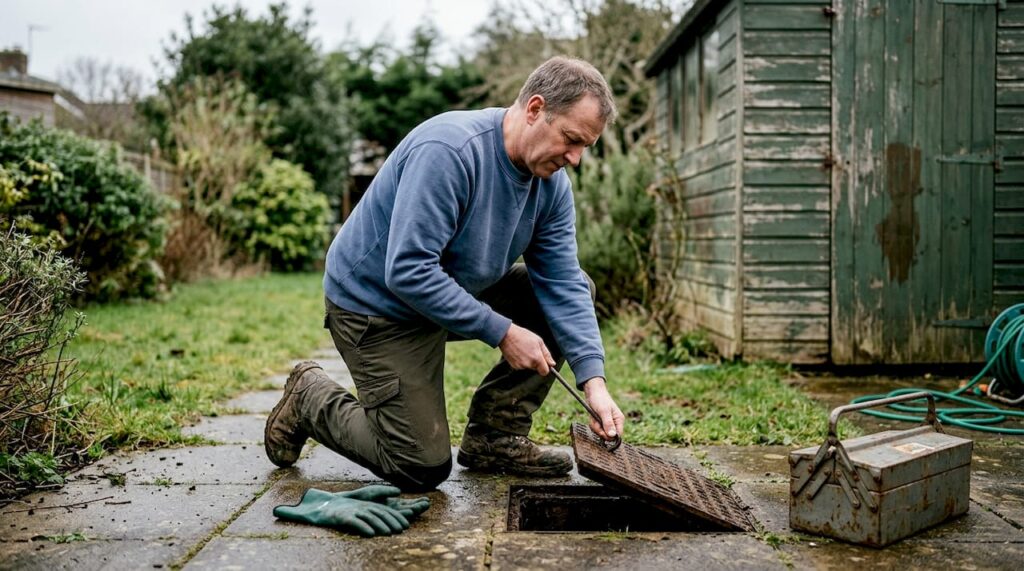
Access the affected drain by removing covers or traps carefully. For sink drains, place your bucket beneath the U-bend before loosening the connections. External drains require lifting the inspection cover, which may need a screwdriver or specialised lifting keys available at hardware shops.
-
Conduct initial inspection using your torch or camera. Look for visible blockages like accumulated hair, soap scum, or foreign objects. Note any cracks, corrosion, or misaligned pipe sections that might need attention beyond simple clearing.
-
Attempt the least invasive clearing method first. For minor sink blockages, a plunger often suffices. Create a tight seal around the drain opening and apply firm, rhythmic pressure. The suction action dislodges many common obstructions without chemicals or tools.
-
Progress to drain rods if plunging fails. Insert the first rod section into the drain and attach additional sections as needed. Rotate clockwise only to prevent unscrewing the rods underground. Apply steady pressure whilst twisting to break through blockages. You’ll feel resistance decrease when the obstruction clears.
-
Flush thoroughly with hot water once the blockage moves. This removes remaining debris and confirms proper flow restoration. Run water for several minutes, checking for any slow drainage that might indicate partial clearing.
-
Inspect pipe integrity throughout the accessible system. Look for hairline cracks, weeping joints, or corrosion spots. Small leaks often appear as damp patches or mineral deposits around connections.
-
Repair minor leaks using appropriate methods. For plastic pipe cracks under 5mm, clean the area thoroughly, dry completely, and apply waterproof pipe sealant according to manufacturer instructions. Leaking joints may simply need tightening with your pipe wrench. For damaged sections beyond simple repair, cut out the affected portion and install a replacement section using appropriate couplings.
-
Test all repairs under pressure before closing up. Run water through the system at normal flow rates and check every repair point for leaks. It’s far easier to address issues now than after reassembling everything.
Common pitfalls to avoid during drain repairs:
- Overusing chemical drain cleaners, which corrode pipes and harm the environment
- Forcing drain rods when meeting resistance, potentially damaging pipe walls
- Neglecting to support pipes when disconnecting sections, causing misalignment
- Mixing incompatible pipe materials without proper adapters
- Rushing repairs without adequate testing, leading to future failures
Pro Tip: Start with the simplest, least invasive method and progress gradually to more complex solutions. Many blockages respond to basic plunging, saving you time and potential pipe damage from unnecessary aggressive techniques.
Verifying repair success and ongoing drain maintenance tips
Completing repairs represents only half the battle. Thorough verification ensures your work actually solved the problem, whilst establishing good maintenance habits prevents future issues. Southern UK homes, particularly older properties with mature tree roots nearby, benefit enormously from proactive drain care.
Test drain flow by running water at normal household pressure for at least five minutes. Watch for any slowdown, gurgling sounds, or water backing up into other fixtures. These symptoms suggest incomplete clearing or underlying issues requiring further attention. Check all repair points for leaks, examining joints and sealed cracks under full water pressure. Even minor weeping can worsen rapidly, so address any moisture immediately.
For comprehensive assessment, particularly after major repairs, professional CCTV surveys reveal hidden problems invisible to the naked eye. Specialist cameras navigate your entire drainage system, identifying root intrusion, collapsed sections, or developing cracks before they cause emergencies. Whilst DIY repairs handle many issues brilliantly, this technology provides peace of mind and early warning of serious problems.
Establish simple maintenance habits to protect your investment:
- Never pour fats, oils, or grease down drains, as they solidify and accumulate
- Install drain covers or strainers to catch hair, food particles, and debris
- Flush drains monthly with hot water to dissolve soap buildup and minor deposits
- Avoid flushing inappropriate items like wipes, cotton buds, or sanitary products
- Trim tree roots near drainage pipes to prevent intrusion into joints
- Schedule annual inspections of external drains and inspection chambers
Regular maintenance and verification checks are key to avoiding costly future drain problems, transforming reactive emergencies into manageable routine care.
Safety note: Recognise when problems exceed DIY capabilities. Recurring blockages despite proper clearing, foul sewage odours persisting after repairs, or multiple fixtures backing up simultaneously indicate serious issues requiring professional diagnosis. Attempting complex repairs without proper expertise risks property damage and personal injury.
Professional drain repair and unblocking services for southern UK homeowners
Whilst DIY repairs handle many common drainage issues effectively, some situations demand professional expertise and equipment. Local Services Drainage specialises in comprehensive drain repair and unblocking services tailored specifically to southern UK homes, combining advanced technology with experienced technicians who understand regional drainage challenges.
Our professional unblocking services utilise high-pressure water jetting and CCTV surveys to diagnose and resolve complex blockages beyond DIY reach. We offer long-term repair guarantees and emergency response capabilities, ensuring your drainage system functions reliably when you need it most. For homeowners facing recurring problems or lacking time for extensive repairs, professional intervention provides efficient, lasting solutions.

Understanding the role of drain repairs in maintaining property value and preventing costly damage helps you make informed decisions about when to tackle projects yourself versus calling experts. Our essential drain unblocking guide offers additional insights into drainage maintenance, complementing your DIY knowledge with professional perspectives on keeping systems flowing smoothly year-round.
Frequently asked questions
How do I know if my drain needs repair or just cleaning?
If water drains slowly but you see no visible cracks, leaks, or structural damage, thorough cleaning usually resolves the issue. Persistent water pooling after cleaning, damp patches on walls near pipes, or recurring blockages despite regular maintenance suggest underlying damage requiring repair. Check for physical pipe deterioration, misaligned joints, or root intrusion that cleaning alone cannot address.
What safety precautions should I take when repairing drains myself?
Always wear heavy-duty rubber gloves and safety goggles to protect against bacteria and debris. Shut off the water supply before beginning work to prevent flooding if pipes are damaged during repairs. Ensure adequate ventilation when working in confined spaces or near standing water to avoid exposure to harmful sewer gases. Never mix chemical cleaners, as this creates dangerous fumes.
How can I prevent future drain blockages and damage?
Avoid pouring fats, oils, and grease down drains, as these solidify and accumulate over time. Install strainers or drain covers to catch hair, food particles, and debris before they enter pipes. Flush drains monthly with hot water to dissolve soap buildup, and schedule annual inspections of external drainage systems. Never flush inappropriate items like wipes or sanitary products, regardless of packaging claims.
When should I call a professional instead of trying DIY drain repair?
Call professionals if drains repeatedly block despite proper clearing attempts, indicating underlying structural issues. Extensive damage like collapsed pipes, severe root intrusion, or multiple fixture backups requires specialist equipment and expertise. If you feel uncertain about repair safety or complexity, professional assessment prevents costly mistakes. CCTV surveys diagnose hidden problems invisible during visual inspection, providing comprehensive drainage system evaluation.
Recommended
- Drain repair best practices for southern UK properties 2026
- 7 Essential Common Drainage Repairs for UK Homes
- Drain Installation Guide for Reliable Home Drainage
- Drain Installation Explained: Ensuring Reliable Home Drainage
- Top 5 Pimlico Plumbers Alternatives in 2026 for Homeowners Seeking Reliable Plumbing Solutions